
Forever Ferns


It's been Forever...Ferns!


I've been getting my Stampin mojo back in shape lately. I've had lots of time due to the COVID Crisis. We have been home enjoying quality time since Spring Break in April. It has been a huge blessing to have this time with my kids. I have been reminded what it was like to be a stay at home mom. 

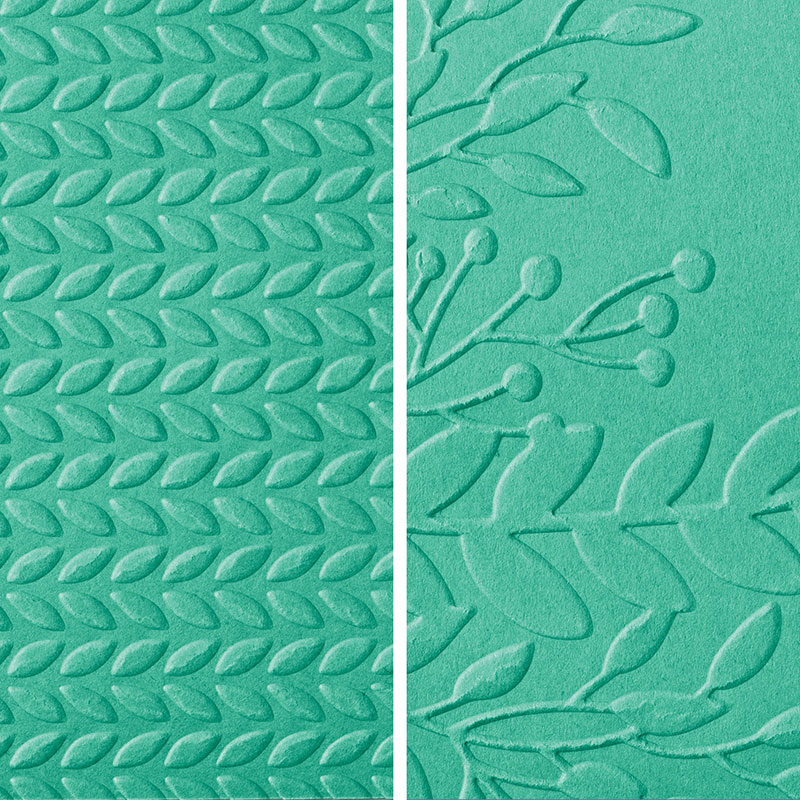
My classes are going strong, in spite of the social glitches. We meet on the 3rd and 4th Saturday of each month. This month we will be playing with the new  Forever Ferns stamp set and matching die. I have seen so many fantastic samples with this set! Here are the cards we will be making this month...most likely. I'm still playing so, they may change!

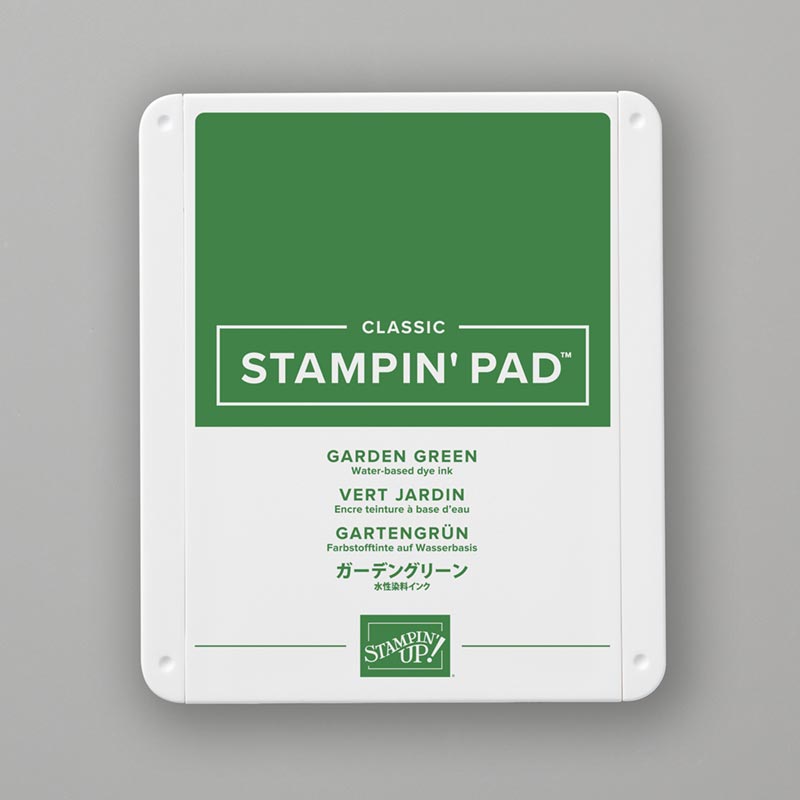
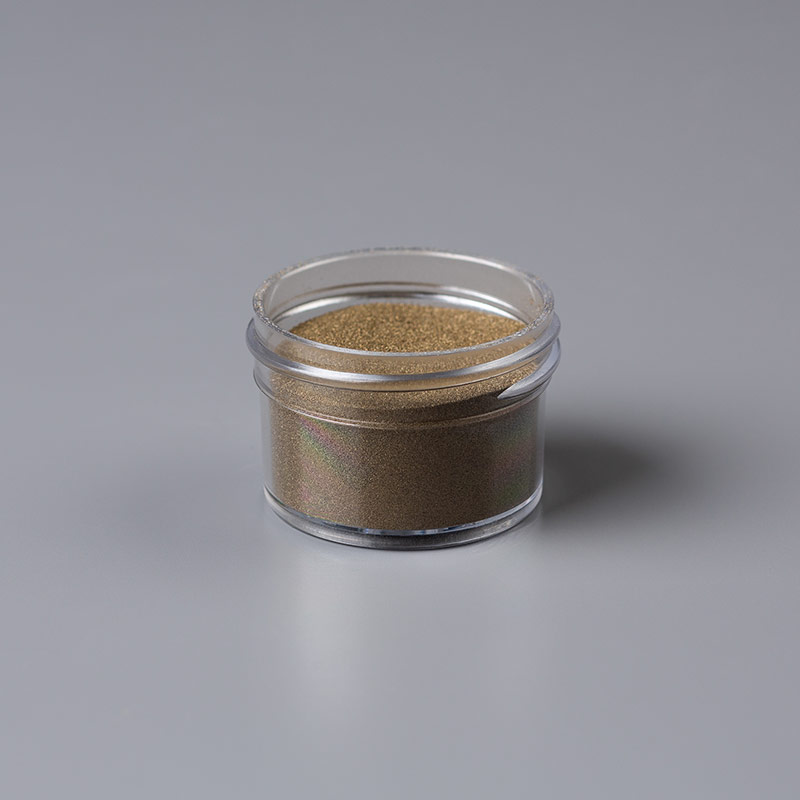
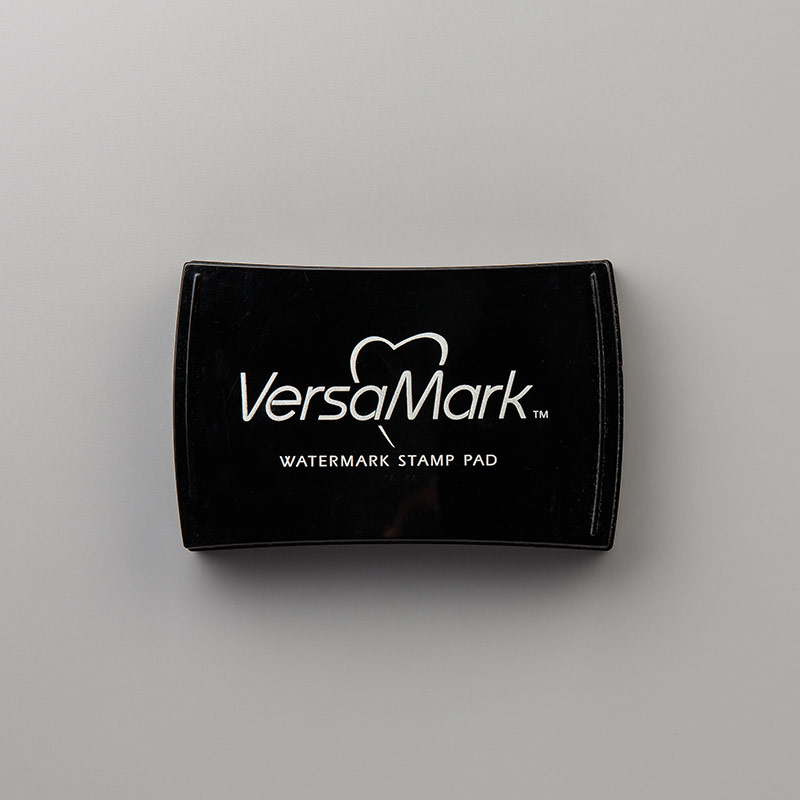
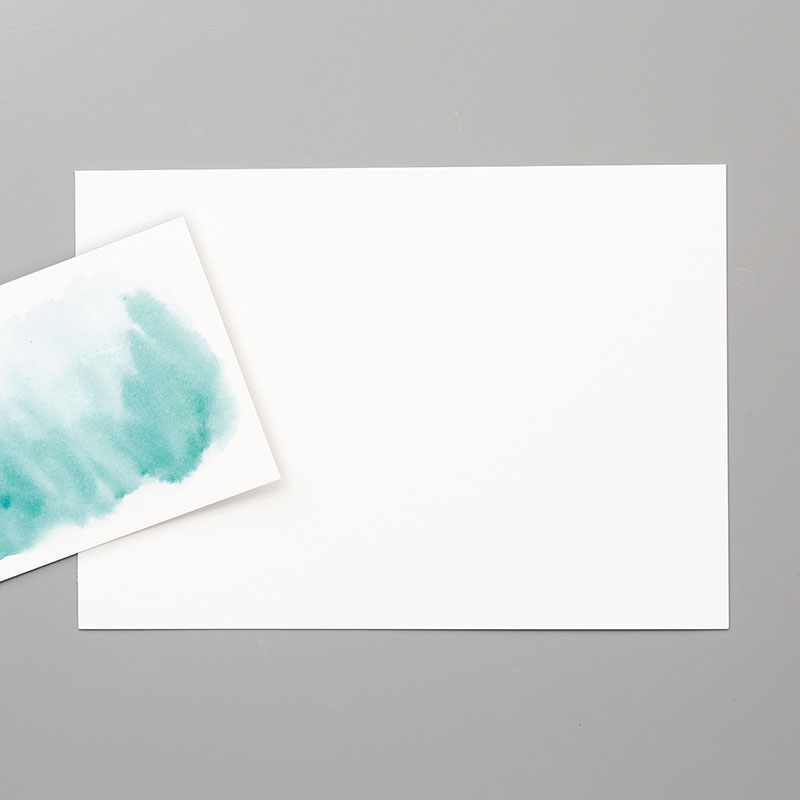
This first card was inspired by one I saw on Pinterest. The background rectangle is actually a clear block inked up with celery, old olive, garden green, and Bermuda bay ins. I spritzed the inked block with water and let the color run together. Then, I just 'stamped' the block onto my whisper white cardstock. The leaves are from the Forever Fern set, stamped with Versamark and embossed with gold. I layered the white front panel on top of a white card base to give it more depth. 


This next card is similar to the first one. The only difference is the clear block I used to 'stamp 'with. I layered the front panel on a slightly larger piece of old olive cardstock before adhering to my card base.

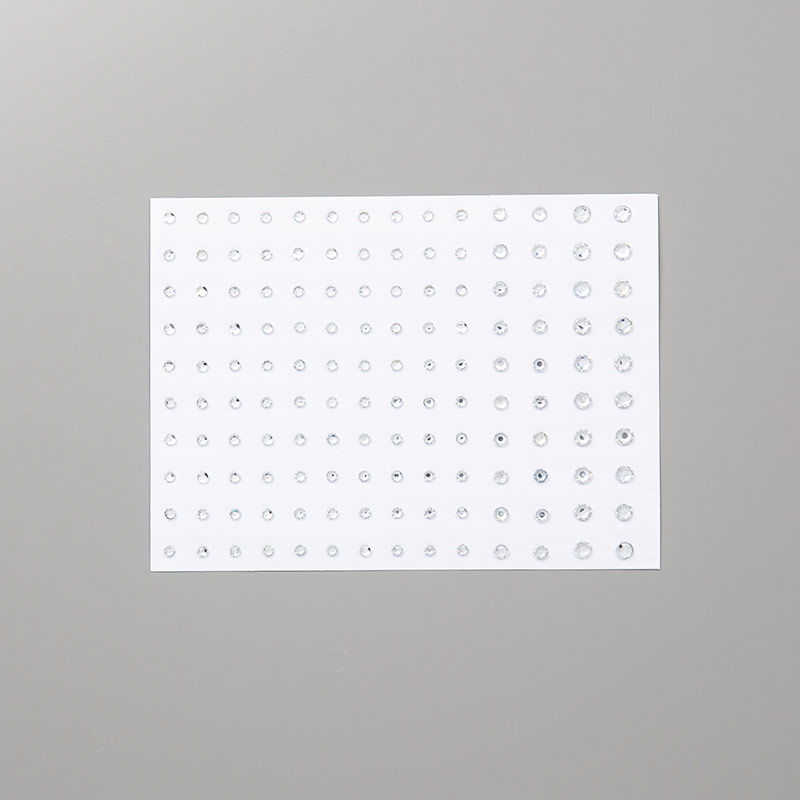
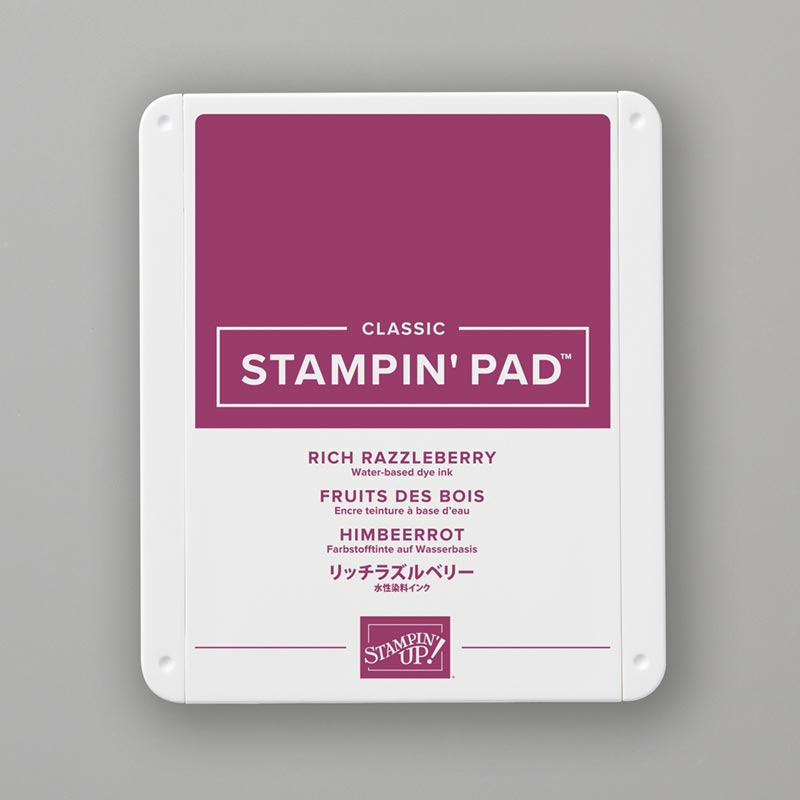
I really love how these stamps are detailed enough to not need coloring in. I think they really work well with this next technique. I used some washi tape from my stash to mask off the center of my card. I stamped the different images in blueberry bliss, rich razzleberry, mint macaron, and crushed curry. I carefully peeled the washi tape off when I was done and used my Stamparatus to stamp the sentiment in the blank space made by the mask. By this time I had a lot of in on my hands so I ended up getting som unwanted smudges. To fix this, I cut three pieces of white cardstock the same size as the blank space and layered them to cover my smudge. I really like how this turned out! I added some rhinestones to give it a bit of bling here and there.
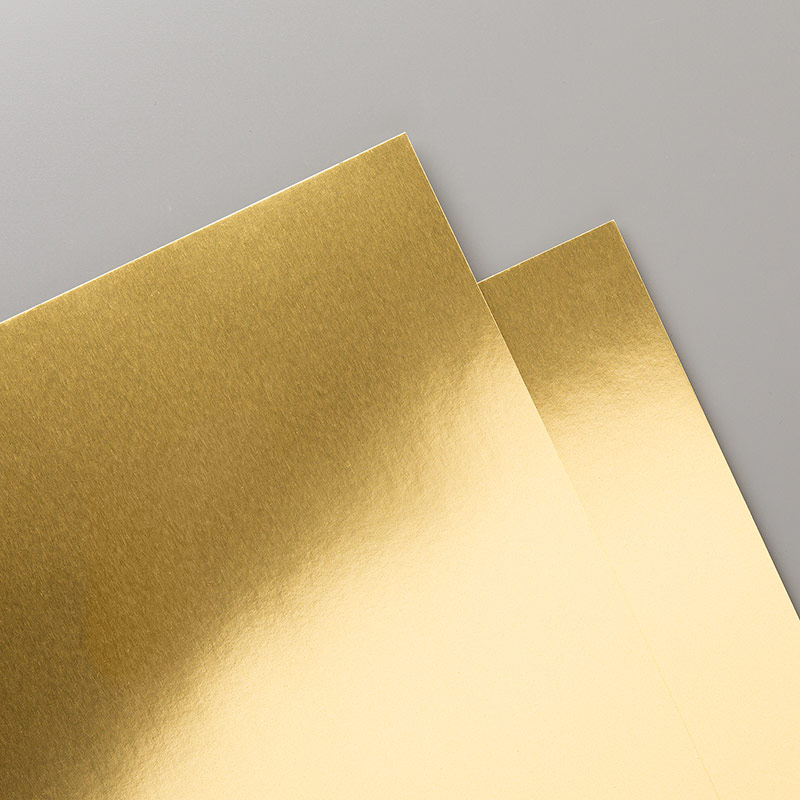
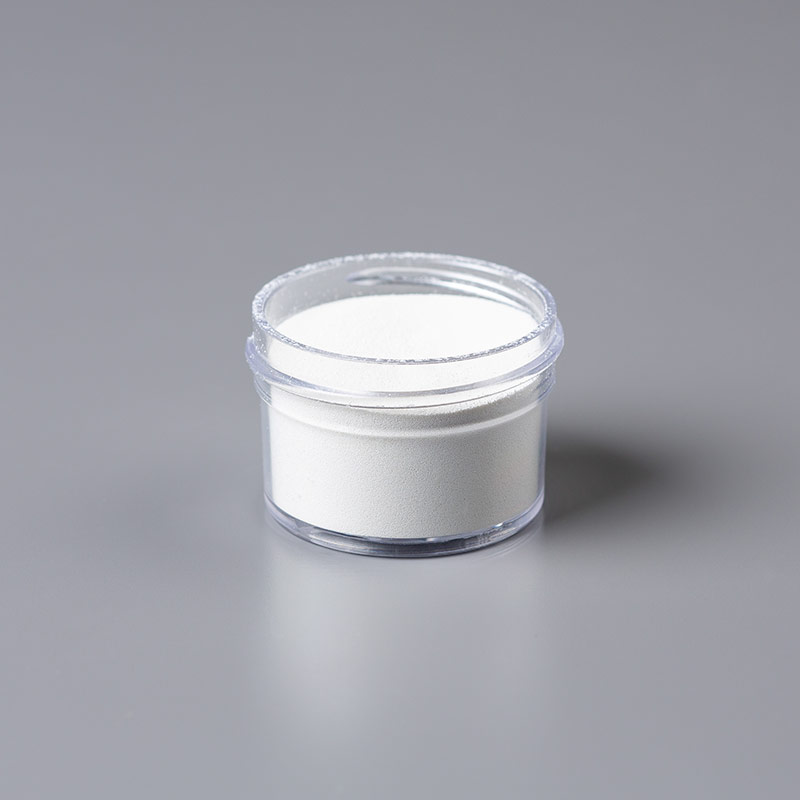
 Because I wanted to build on the water coloring in the first card, I decided to do another watercolor technique.  For this card, I stamped one of the images with Versamark on watercolor paper and embossed it with white powder. After that, I stamped the other images in old olive, garden green, and celery randomly all over the paper. When I was done stamping, I spritzed the paper with water until it started to bleed and let it sit to dry. After it was dry, I wiped off the excess ink from the embossed images and layered it up on garden green and celery paper. I added an image from the coordinating dies I cut out with the gold foil paper. I love how the embossed images pop on the watercolored background! 
If you'd like to attend a class or order, please contact me. I am listing the supplies I used below. You can click on them to go to my Stampin' Up! site to order. Happy stamping!

olive ink padgreen ink padgold sheetswhite embossing powder

gold emboss powderblack inkclear rhinestone jewelspurple ink padHeat Tool (Us And Canada)FOREVER FLOURISHING DIES


fine tip liquid glueFLUID 100 WATERCOLOR PAPERGREENERY EMBOSSING FOLDERSwhite paperdeep green cardstock paperStamparatus


Comments

Popular posts from this blog

Bradley

Sunday, my best friend died. My sweetheart of 20 years died suddenly from diabetes. We didn't know he had diabetes. It came quick and took him from me. Brad was more than just my husband, he was my best friend. I relied so very much on his strength to guide me and my children through this life. I admit I feel a bit lost without him, already. I had planned on much, much more time with him. Brad and I met on January 28th, 1989. We were both at a nightclub for under age night with our friends that had dragged us there. We were both ready to leave when we were talked into one more dance. That dance changed our lives. We hit it off right away and danced the rest of the night. In face, we were together from then on. I remember that after that night, I waited all day for his call. It was love right away for me. I felt something I had never felt before and knew that he was the one for me. We dated for six months before Brad went to Texas to go to school. We talked a lot on the phone, and I

Bloggers challenge and candy

I know I said I would post some blog candy yesterday but I didn't even get near my computer! What a crazy day! I had planned on doing it the night before but...I was in the kitchen doing the dishes and I was so dog tired that I laid my head down on the counter for a minute. My son came into the room and said, "go to bed mom, dad and I will do the dishes." Now, who in thier right mind would turn down that offer? My boys HATE to do anything in the kitchen that doesn't involve eating. I immediately turned off my water(boiling for herb tea) and skedaddled upstairs and went to bed. I'm no dummy! The kitchen was not cleaned to my standards, but I'm not about to look a gift horse in the mouth! Speaking of gifts, I have a little blog candy offer today. In honor of my 8000 hits, I am offering the following: A simply scrappin kit "Just Delightful", a stamp set "Delight in Life", three mini spools of ribbon, some acrylic tiles AND a copy of the latest

Doubles with candy!!

Today is another fun summer day at my house. The kids are running here and there and I'm just trying to keep up. I realized I hadn't sent out Father's day cards yet, so that is what I worked on today. I tried to keep these nice and clean and manly. I remember going to a demonstration at a Stampin' Up! convention years ago where Kevin Theeson and another guy(I forget his name....) talked about 'manly' cards. One of the things they stressed was that guys don't like cards made with pastel cards. They prefer bold bright and earth element colors. I'm not sure if they suggested we stay away from florals too, but I kind of figured that was a safe idea. ;o) For this card I started with some textured Wild Wasabi cardstock cut to 10-1/2 x 5-1/4. That gave me a 5-1/4" card when folded. The striped paper across the center is from a retired SU simply scrappin kit...primary colors I think it was called. I added a strip of Real Red to each side of the stripes for